Kitchen secrets: making and working your own dough
***Rachel Khoo would like to thank all the inspiring people who helped make the Khoollect studio a hive of creativity. Although the Khoollect studio’s doors have now closed, you can keep up with Rachel’s newest adventures on RachelKhoo.com and on Rachel’s Instagram and Facebook pages – and, continue to enjoy the Khoollect website’s stories and recipes, which will remain available.***

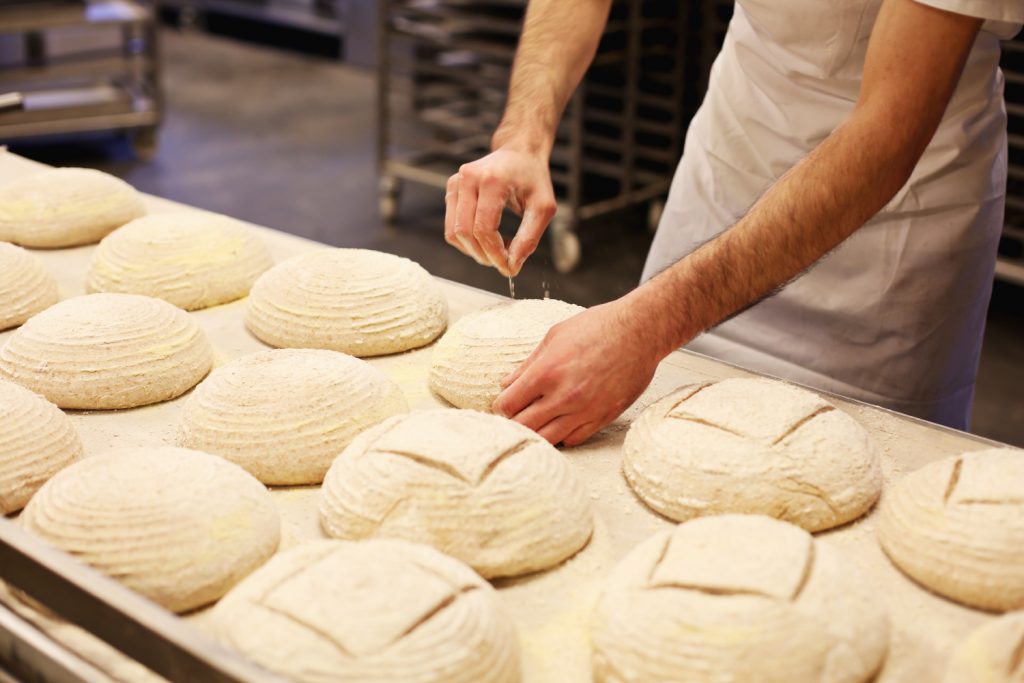
Baking expert and cookbook author Richard Bertinet shares his insider tips for making and working dough to create your own delicious breads at home. If you’d like to make his Brown Dough or the Honey and Lavender Loaf from his newly released book, Dough, this is your go-to guide for getting it right:
How to make the dough
- Rub the yeast into the flour using your fingertips, as if making a crumble, until it disappears into the flour.
- Add the salt and then the water. Hold the bowl with one hand and mix the ingredients around with the other (or use the rounded end of your scraper) for 2–3 minutes until the dough starts to form.
- With the help of your plastic scraper, lift the dough onto your work surface. Even though the dough will feel quite soft and moist (and look like thick, sticky porridge) do not add any flour to the work surface. People are always amazed when I tell them that I work the dough by hand without flouring the work surface.
Sometimes when I am giving bread-making classes, to prove the point that you don’t need any flour, I put some extra water into the dough, to make it really sticky. No one believes that it will really come together without flour, yet it does, simply by working it, stretching and folding, to trap the air inside.
Think about it: if you continue adding flour at this stage – before you know it you can easily put another 100g into your dough, which will firm it up and change its make-up – then you are far more likely to end up with a ‘brick’. If you work the dough without flour it allows you to keep the dough softer, so the finished bread is lighter, more airy and exciting.
How to work the dough
- Begin to work the dough: The idea is to stretch it and get as much air into it as possible. Forget the way you have probably been taught to knead the dough, by pummelling it with the heel of your hands and rotating it. The way to work it is to slide your fingers underneath it like a pair of forks, with your thumbs on top, swing it upwards and then slap it back down, away from you, onto your work surface (it will almost be too sticky to lift at this point).
- Stretch the front of the dough towards you, then lift it back over itself in an arc (to trap the air), still stretching it forwards and sideways and tucking it in around the edges. Keep repeating this sequence. At first this might seem to be too much to think about, but once you get the hang of it, you will find that you can work the dough easily in one quick, seamless movement.
- As you work the dough it will start to come together and feel alive and elastic in your hands. Keep on working it until it comes cleanly away from the work surface, begins to look silky and feels smooth, firm-but wobbly and responsive – you’ll understand what I mean, when you feel it for yourself. I promise you the fascination with dough starts here! Once you get used to this technique, it should only take around 5 minutes, as opposed to 10–15 minutes of traditional kneading.
- Now you can flour your work surface lightly, place the dough on top and form it into a ball by folding each edge in turn into the centre of the dough and pressing down well with your thumb, rotating the ball as you go.
- Turn the whole ball over and stretch and tuck the edges under. You will come across this technique in various stages throughout recipes – in each case follow this folding method. If the recipe calls for you to make a ‘tight ball’, then fold in a few more times into the centre.
Dough by Richard Bertinet is published by Kyle Books. Photography by Jean Cazals.
You may also like


LASSCO: a collector's haven of oddities and delights


Words of wisdom: 9 quotes from small business owners

- Share:
-

-

-

-

-


Sonya Gellert is a contributing writer and associate editor for Khoollect. She lives in Sydney....
READ MORE BY Sonya GellertYou decide
Love great bread?
Get to know the woman behind My Life in Sourdough.
- Share:
-
-
-
-
-

You must be logged in to post a comment.
No Comments »
RSS feed for comments on this post. TrackBack URL